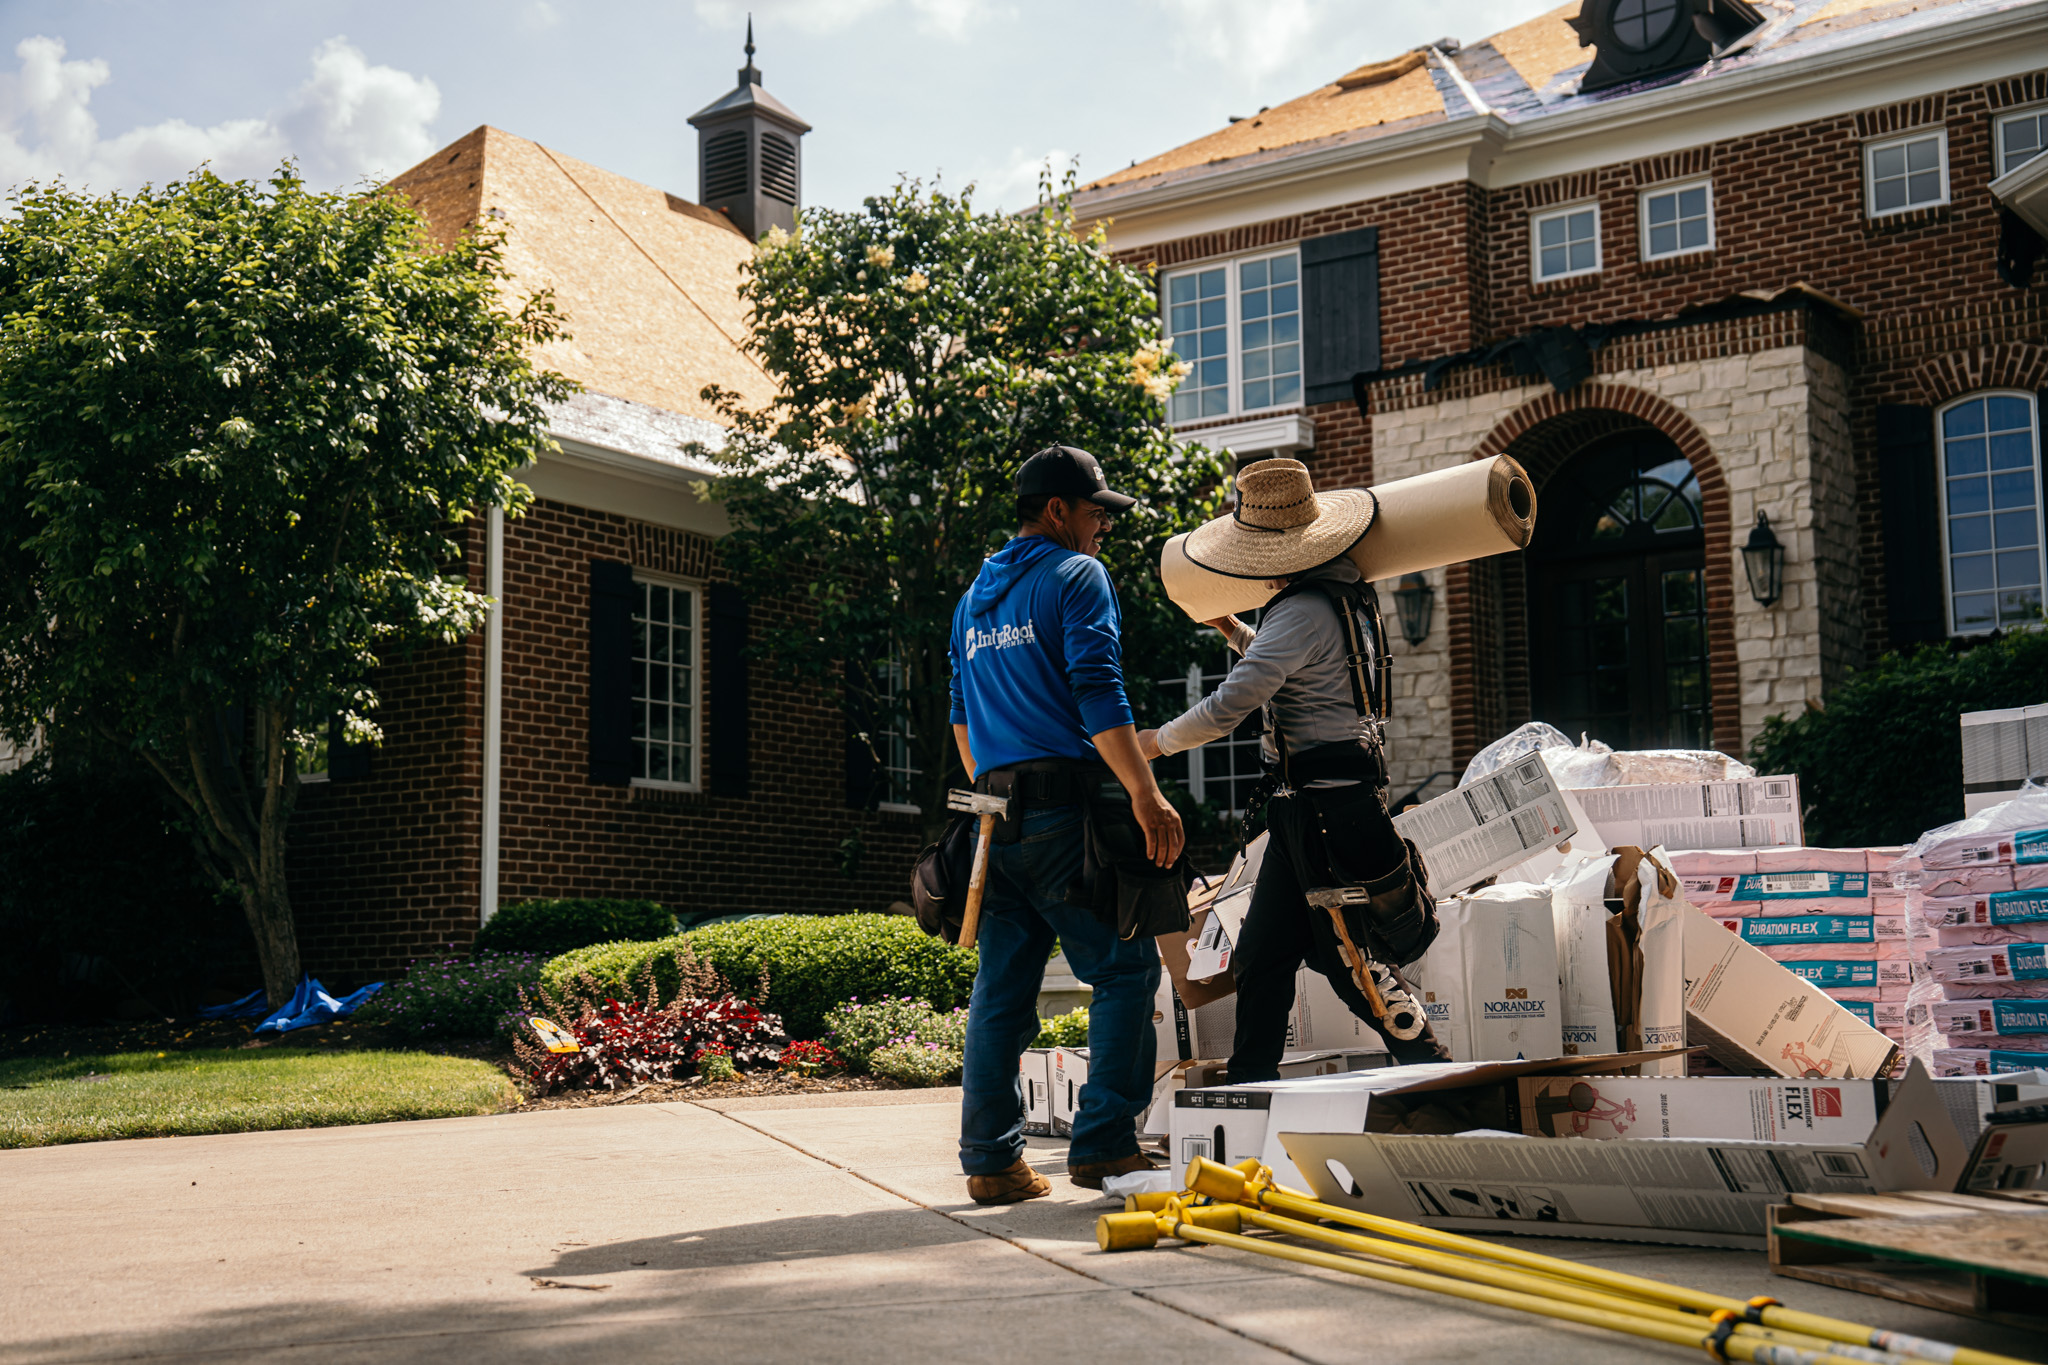
Step 1: Confirm Roof Age and Remaining Service Life
- Pull the install date from your closing documents or the permit record.
- Subtract from a 22 to 25 year expected service life for 3-tab and standard architectural asphalt.
- If remaining life is under 8 years, plan for replacement before any solar install.
- If remaining life is 15+ years, rack mounted panels over the existing roof are viable.
- If remaining life is 8 to 15 years, solar shingles become worth pricing because you are replacing the roof anyway.
- Document granule loss, exposed mat, and curling at the south slope. These age the fastest in Geist Overlook and often dictate the timeline.
- Check attic decking from below for daylight, staining, or sag between rafters before committing to any rooftop generation system.
Our crews document this during a free roof inspection with photos of every slope, valley, and penetration.
Step 2: Measure Usable Roof Area
- Identify south, southwest, and southeast facing planes first. These produce 85 to 100% of rated output in Geist Overlook.
- Subtract 18 inches from every eave, rake, and ridge for code setbacks and fire access pathways.
- Subtract a 36 inch radius around plumbing vents, chimneys, and skylights.
- Calculate net square footage. A typical 2,400 sq ft home yields 600 to 900 usable sq ft.
- Convert to system size: roughly 100 sq ft per 1 kW for panels, 130 to 150 sq ft per 1 kW for shingles.
- Note pitch in degrees. Optimal production in Geist Overlook sits between 30 and 40 degrees, which matches a 7/12 to 10/12 roof.
- Flag any plane smaller than 80 contiguous sq ft. Small planes often fail string sizing rules and end up unused.
Step 8: Plan for Maintenance and Monitoring
- Inspect array fasteners, flashings, and conduit straps every 24 months.
- Clear leaf debris from behind panels and from valleys at least once each fall.
- Wash modules with deionized water if production drops more than 8% year over year on the monitoring dashboard.
- Replace string inverters at year 12 to 15. Microinverters typically run the full 25 year warranty.
- For solar shingles, individual shingle replacement requires a certified installer and the Geist Overlook Roofing replacement kit specific to your generation of product.
- Keep the original commissioning report, string map, and serial inventory in a permanent file for warranty claims.
Step 3: Verify Structural Load Capacity
- Standard residential decks are rated for 20 psf live load plus 10 psf dead load.
- Asphalt shingles weigh 2.5 to 4 psf already installed.
- Rack mounted panels add 2.8 to 3.5 psf distributed plus point loads at each stanchion.
- Solar shingles add 0.0 psf above a standard architectural shingle, since they replace shingles 1 to 1.
- Homes built before 1985 in Geist Overlook should get a structural review before panel mounts are specified.
- Trusses spaced at 24 inches on center are the common limit case. 16 inch spacing handles either system without modification.
- If a stamped engineering letter is required by the permit office, budget $350 to $750 and 5 to 10 business days.
Step 9: Make the Decision Using a Single Filter
- Roof needs replacement now and you want solar: solar shingles are competitive.
- Roof has 15+ years left: rack mounted panels win on cost and payback.
- HOA restricts visible hardware: solar shingles are the only path.
- Heavy tree shade or mostly north facing roof: neither system is worth installing yet.
- Planning to sell within 5 years: panels recover roughly 60 to 70% of cost at resale; shingles recover more because they double as the roof.
- Want a single warranty point of contact: solar shingles installed by a Geist Overlook Roofing certified roofer consolidate roof and solar coverage under one claim path.
Step 6: Sequence the Install Correctly
- Tear off existing shingles down to the deck.
- Inspect decking for soft spots; replace any sheet showing more than 25% delamination.
- Install synthetic underlayment, ice and water shield at eaves and valleys (minimum 24 inches inside the warm wall).
- For solar shingles: install non active shingles on north slopes and active shingles on solar facing planes in the same pass.
- For panels: complete the full asphalt or metal roof, then mount rails, then modules, then microinverters.
- Commission the system, set the monitoring app, and submit the net metering paperwork to AES Geist Overlook or Duke Energy depending on your service territory.
Step 7: Compare All-In Cost Ranges in Geist Overlook
- Asphalt re roof: $7,500 to $18,000 depending on size and complexity.
- Asphalt re roof plus 8 kW panel array: $28,000 to $42,000 before federal tax credit.
- Solar shingle roof at equivalent 8 kW output: $52,000 to $78,000 before federal tax credit.
- Federal residential clean energy credit: 30% through 2032 on the solar portion only.
- Payback period for panels in Geist Overlook: 9 to 13 years at current AES rates.
- Payback period for solar shingles: 14 to 20 years, offset partially by avoided future re roof cost.
- Property tax: Geist Overlook exempts the added assessed value of solar from property tax under IC 6-1.1-12-26.1.
- Homeowners insurance: expect a $40 to $120 annual premium increase and a required policy endorsement on either system.
Step 5: Plan Penetrations and Flashing
- Standard panel array on a 30 square roof requires 40 to 60 lag bolt penetrations through the deck.
- Each penetration uses a flashed mount, butyl seal, and EPDM gasket.
- Solar shingles eliminate array mount penetrations entirely. Wiring exits through a single junction flashing near the ridge.
- Plumbing boots, step flashing, and chimney flashing are reworked the same way in both systems.
- If your home has chronic leak history, review roof leak detection and repair before adding any rooftop system.
A Note on Getting a Roofer Involved Early
The step most likely to be skipped on a solar project, and the one that prevents the most trouble, is bringing a roofer into the conversation before the solar is designed. Many solar installers are electricians first, and the roof penetrations, flashing, and load questions are exactly where a Geist Overlook solar job goes wrong when no one with roofing expertise is at the table. A roofer led process confirms the roof can carry the system, that it has the life to justify it, and that every penetration is flashed to keep water out for the decades the array will sit there. Getting that input early costs nothing and protects both the roof and the solar investment on top of it.
Step 4: Compare System Specifications Head to Head
- Panel wattage: 400 to 440 W per module, roughly 17.5 sq ft each.
- Solar shingle wattage: 58 to 71 W per active shingle, roughly 4 sq ft each.
- Panel efficiency: 20 to 22.8% under standard test conditions.
- Solar shingle efficiency: 17 to 19% under the same conditions.
- Panel warranty: 25 year power output, 12 to 25 year product.
- Solar shingle warranty: 25 year power, 25 year product, often bundled with the underlying roof system.
- Wind rating: panels typically 140 mph when ballasted or bolted; solar shingles tested to 150 mph as part of the roof assembly.
- Hail rating: panels generally IEC 61215 (1 inch hail at 50 mph); shingles often Class 3 or Class 4. See our notes on Class 4 impact resistant shingles for the testing specifics.
- Temperature coefficient: panels lose 0.30 to 0.35% per degree C above 25 C; shingles lose 0.34 to 0.40% due to tighter coupling with the deck.
- Module level shutdown: both systems comply with NEC 690.12 rapid shutdown when paired with compliant inverters.